Install Weblogic Windows 7 64 Bit
There do not appear to be procedures laid out for how to install Weblogic on Windows 2008 when you want to use the 64-bit JVM. Can anyone point me to procedures for this?
Windows xp image. • Open a web browser and navigate to the Java SE Downloads:. • In the Java Platform, Standard Edition page section, click JDK Download. • Save the download file - this tutorial uses the jdk-8u65-linux-x64.tar.gz file. This tutorial uses the /scratch/u01/ location.
• In the web browser navigate to the Oracle Fusion Middleware Software Downloads:. • Click In the Accept License Agreement. • Select the Generic Installer. • Click Download File. • Save the download file - this tutorial uses the fmw_12.2.1.0.0_wls_Disk1_1of1.zip file. This tutorial uses the /scratch/u01/ location. Installing JDK 1.8.
• In the same Terminal window, execute the command to extract the WebLogic Server 12c (12.2.1) Generic Installer: unzip fmw_12.2.1.0.0_wls_Disk1_1of1.zip. The WebLogic Server 12c (12.2.1) Generic Installer, fmw_12.2.1.0.0_wls.jar is extracted. • Start the WebLogic Server 12c (12.2.1) Generic Installer: jdk1.8.0_65/bin/java -jar fmw_12.2.1.0.0_wls.jar. • If the Installation Inventory Setup dialog box appears, click OK to accept the default inventory location. • After the graphical wizard opens, use the guidelines in the following table to install WebLogic Server 12c (12.2.1): Step Window/Page Description Choices or Values a.
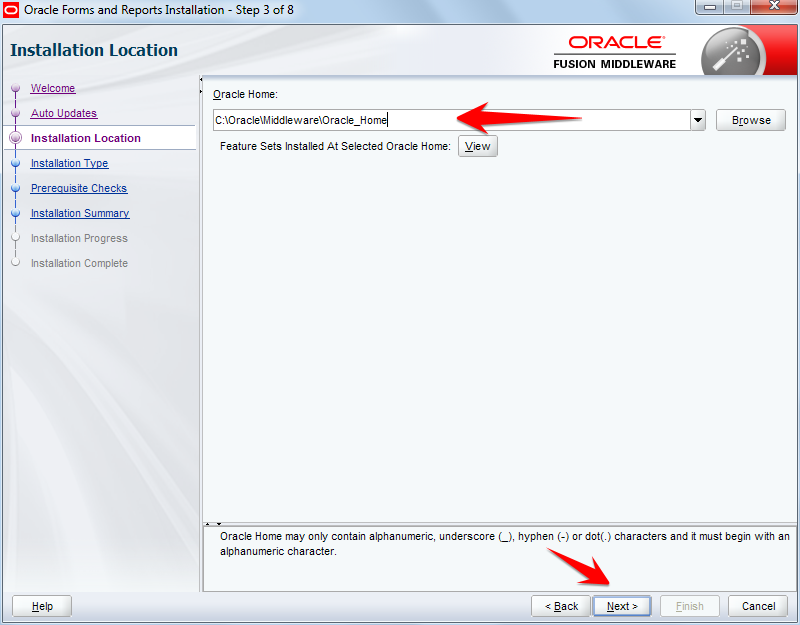
Step 1 of 9 - Welcome Click Next. Step 2 of 9 - Auto Updates Select Skip Auto Updates. Download drama kill me heal episode 4 me sub indo. Step 3 of 9 - Installation Location Enter /scratch/u01/app/fmw for Oracle Home. Step 4 of 9 - Installation Type Select Complete with Examples. Step 5 of 9 - Prerequisite Checks Click Next. Step 6 of 9 - Security Updates Unselect I wish to receive security updates via My Oracle Support.
My Oracle Support Username/Email Address Not Specified Click Yes. Step 7 of 9 - Installation Summary Click Install. Step 8 of 9 - Installation Progress Click Next. Step 9 of 9 - Installation Complete Click Finish. • When the Fusion Middleware Configuration Wizard Quick Start displays, use the guidelines in the following table to configure WebLogic Server 12c (12.2.1): Step Window/Page Description Choices or Values a. Step 1 of 3 - Configuration For Name, enter weblogic. For Password, enter welcome1.
For Confirm Password, enter welcome1. Leave the other items as the default values. Click Create. Step 2 of 3 - Configuration Progress Click Next. Step 3 of 3 - End of Configuration Click Finish. WebLogic Server 12c (12.2.1) is installed and ready to use for additional Oracle-By-Example tutorials.
Want to Learn More?